
Applies to: Leading Vision IR Touch Frames
Symptom(s): Touch Orientation off by 90 Degree Increment
Target OS: Windows 10
Prerequisite Software: Rotation Tool; Touch Service (Please ask the supplier for these tools in advance)
The following steps are demonstrated in a Windows environment, if your touch screen is being used with a different operating system, please refer to this article as a reference. Touch Service needs to be installed before using the Touch Rotation Tool. Follow this guide’s first 5 steps to install Touch Service.
*If Calibration is needed, it must be done in Landscape Orientation and before the Rotation Tool is used*
1. Get the Rotation Tool Utility from us.
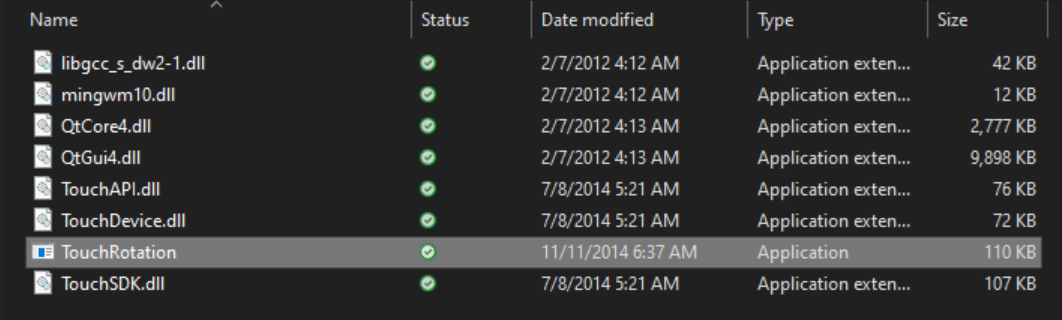
2. Extract all Files to the desired location on your PC.
3. Open the TouchRotate.exe file.
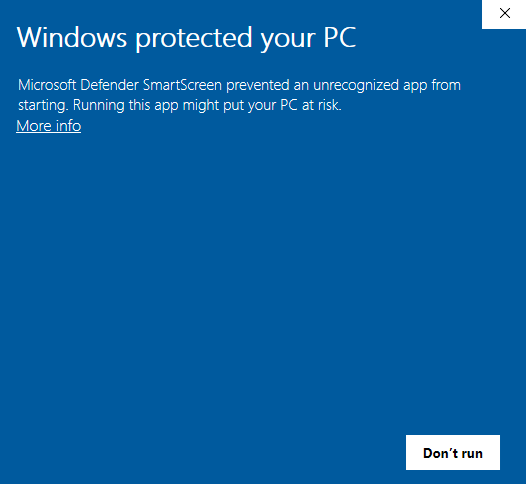
Note: There is a possibility of being prompted by Microsoft Defender SmartScreen with the following message. If so, select More Info, then Select Run Anyway.

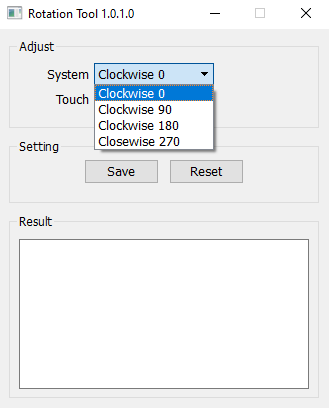
4. This will bring you to the Touch Rotation Tool. If the Touch Frame is detected, options to Adjust System or Touch will be selectable. If the Frame is not detected, this interface will be grayed out.

5. To Rotate Touch to the proper Orientation select the Drop Down menu for System. This will give you four options for Degrees of Rotation, 0, 90, 180, and 270 Degrees.
Note: Rotating Orientation must be done from System Drop Down Menu. The Touch Drop Menu will have no affect on Orientation.
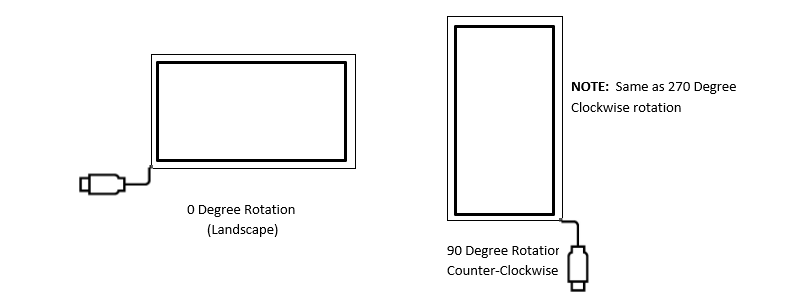
6. When placing an IR touch frame in portrait in any type of outdoor configuration, (e.g. kiosk or enclosure), the rotation of the touch frame needs to be 90-degree counter-clockwise. The USB cable will end up in the lower right corner.
Note: This is the same as 270 degrees clockwise for purposes of the TE Rotation software if needed to assist with rotation of the touch orientation.
7. Depending on the Degree of Rotation needed, select that option and press Save. If Rotation is successful, Succeeded will be posted under Result Ex. of 180 Degree Rotation:

8. Once the proper Degree of Rotation is selected and saved, retest the frame to ensure Touch Points are aligned to the correct Orientation. If the Frame is in working order, close out the Rotation Tool and these settings will be Saved.
9. If the above steps do not resolve the issue, please contact the us for further help.